4 Steps To Fix Leaking Kitchen Faucet. Stop Drip!
4 Steps To Fix Leaking Kitchen Faucet. Stop Drip!
Key Takeaways
- A leaky single-control kitchen faucet can usually be fixed in four simple steps without calling a plumber
- The three most likely fixes are tightening screws, cleaning the seal, or replacing the cartridge
- American Standard and many similar brands offer lifetime warranties on faucet cartridges
- You must shut off the water supply before any disassembly
- Different faucet types require different approaches, but the diagnostic logic is similar
Why Fix a Dripping Faucet
A dripping faucet wastes far more water than most people realize. A faucet dripping once per second wastes over 3,000 gallons per year — enough to take more than 180 showers. Beyond the water waste and the bump in your utility bill, the constant dripping creates mineral stains in the sink basin and the rhythmic sound can be genuinely maddening, especially at night.
The good news is that most kitchen faucet leaks are straightforward DIY repairs requiring basic tools and taking under an hour. The faucet demonstrated in this video is a single-control American Standard model with a cartridge design, but the principles apply to many similar faucets across manufacturers.
The Four Steps
Step 1: Tighten the Mounting Screws
Before disassembling anything, try the simplest fix first. Three screws hold the faucet body together, and over time, vibration from daily use and water pressure fluctuations can loosen them. Locate these screws (usually under the handle or at the base), use an appropriately sized screwdriver or Allen wrench, and tighten each one snugly. Do not overtighten — stripping a screw creates a much bigger problem.
Run the faucet and check whether the drip has stopped. If it has, you are done. If not, proceed to step two.
Step 2: Clean the Seal
If tightening did not solve the leak, the rubber seal at the base of the cartridge may have accumulated mineral deposits from hard water, preventing a proper watertight fit. Remove the faucet handle and cartridge cover to expose the seal. Clean it thoroughly with white vinegar to dissolve mineral buildup, then reassemble and test.
Step 3: Shut Off the Water Supply
If cleaning the seal did not work, you need to replace the cartridge. Before removing it, shut off the water supply using the valves under the sink (typically two knobs, one for hot and one for cold). If the under-sink valves do not work or do not exist, shut off the main water supply to your home. Open the faucet to release residual pressure and drain remaining water.
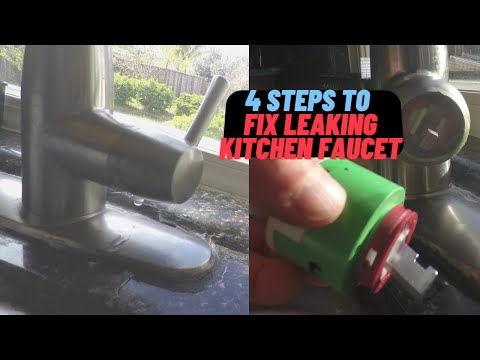
Step 4: Remove and Replace the Cartridge
Remove the handle (usually secured by a screw under a decorative cap), then unscrew or pull the cartridge retaining nut. The cartridge either pulls straight out or unscrews depending on the model. Take the old cartridge to a hardware store to find the exact match, or order online using the faucet model number printed on the body or in the manual.
Check the warranty first: American Standard offers a lifetime warranty on cartridges. Before spending money on a replacement, contact the manufacturer with your model number. Many will send a free replacement.
Installation is the reverse of removal: insert the new cartridge, replace the cover, reattach the handle, turn the water back on, and test.
Understanding Different Faucet Types
This video covers a cartridge-type faucet, but other types exist. Compression faucets use rubber washers that wear with time. Ball faucets contain a rotating ball with spring-loaded seals. Ceramic disc faucets use two polished ceramic plates. The diagnostic approach is similar across all types: access the internal components and replace the worn parts.
For more home repair projects, see how to do bathtub caulking and making a caulk finishing tool.