Fastest Way To Fix Bike Tire With Least Effort and No Special Tools.
Fastest Way to Fix a Bike Tire With Least Effort and No Special Tools
Key Takeaways
- Getting a bike tire back on the rim is the hardest part, but a key technique makes it much easier
- The center line of the rim has the smallest diameter — push the tire bead there to create installation tolerance
- Patching requires less disassembly than full tube replacement
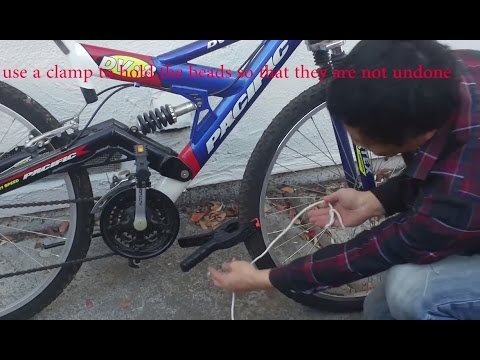
- If replacing the inner tube, do not remove brake pads to minimize effort
- Moving the air valve to the upper position makes installation easier
The Real Challenge
Everyone who has fixed a flat bike tire knows that finding and patching the hole is the easy part. The real struggle is getting the tire back onto the rim. Bike tires are intentionally tight-fitting, and wrestling a stiff bead over a metal rim can be incredibly frustrating. The good news is a simple technique makes this dramatically easier, requiring no special tools.
The Key Insight: Use the Center Channel
The critical observation is that the center of the rim has the smallest diameter. Most rims have a recessed channel running along the center that is narrower than the outer edges where the bead normally sits. When trying to get the last section of tire over the rim, push the bead on the opposite side into this center channel. This gives you extra slack to stretch the final section over the rim lip.
Option 1: Patch the Hole
Patching is fastest because it requires the least disassembly. Remove only one side of the tire from the rim, pull out enough tube to find and patch the hole, reinsert, and remount. You do not need to fully remove the wheel or re-adjust anything.
Option 2: Replace the Inner Tube
If you prefer full replacement, do not remove the brake pads. Many people remove brakes for easier wheel removal, but this creates tedious re-adjustment later. Instead, deflate completely, remove one bead, swap the tube, and use the center-channel technique to remount. Move the air valve stem to the upper position during installation to prevent pinching.
Step-by-Step Process
Remove the wheel. Lever one bead off the rim. Pull out the old tube or find the puncture. Patch or insert a new tube. Starting at the valve stem, work the bead back over the rim. When you reach the last difficult section, push the opposite bead into the center channel and roll the remaining bead over.