Question: How does the Adjustable Toilet Flapper Work?
Question: How does the Adjustable Toilet Flapper Work?
Key Takeaways
- This big mystery puzzled me for weeks
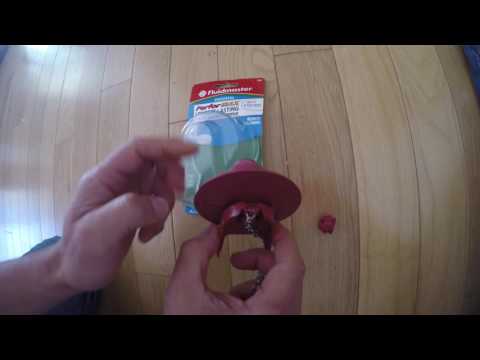
- I bought an adjustable flapper ($5 Universal PerforMAX High Performance Toilet Flapper water saving flapper)
- It has an adjustable dial for a customized water use per flush
- But I can’t figure out why it should work
- It looks symmetrical when adjusted from min to max
Understanding the Basics
The PerforMAX Universal High Performance toilet flapper (about $5) is one of the most common adjustable flappers sold at hardware stores. It replaces your standard flapper and features a numbered dial on top. The concept is straightforward: dial a lower number for less water per flush (saving water), or a higher number for more water (stronger flush). But the engineering principle behind it is not at all obvious from visual inspection.
The DIY Advantage
If the adjustable mechanism does not actually work, you have wasted $5 and your time. If it does work but you do not understand how, you cannot troubleshoot it when something goes wrong. Understanding the mechanism lets you use the product effectively and even improvise alternatives.
Tips for Best Results
Before purchasing an adjustable flapper, verify that your toilet’s flush valve seat is compatible — most are standard 2-inch or 3-inch. When installing, make sure the flapper chain has about half an inch of slack when the flapper is closed. Start at the lowest setting and test with each flush, increasing the dial number if the flush is insufficient.
More Practical Guides
The quest to understand how this deceptively simple device works led to a deeper understanding of toilet mechanics that applies to many other water-saving modifications. For more hands-on tutorials, check out our guides on bathtub caulking and peeling garlic easily without special tools. Each one follows the same practical, no-nonsense approach to help you save money and build useful skills.