The Cheapest Way To Change Spark Plug
The Cheapest Way To Change Spark Plug
Key Takeaways
- Changing spark plugs is one of the most cost-effective DIY car maintenance tasks
- The cheapest approach uses minimal tools that most car owners already have
- Proper gap setting and anti-seize application prevent common installation problems
- The correct torque during installation is critical — too tight risks cracking the porcelain, too loose causes misfires
- Knowing the signs of worn spark plugs helps you time the replacement for maximum savings
Why Change Spark Plugs Yourself
A shop typically charges $100-300 for a spark plug replacement, depending on the vehicle. The spark plugs themselves cost $2-8 each (4-6 per vehicle), and the job takes 30-60 minutes for most four-cylinder engines. The cost difference between DIY and shop service makes this one of the highest-value maintenance tasks for home mechanics.
Tools Needed
The cheapest approach requires only a spark plug socket (or a DIY alternative), a ratchet handle, a gap gauge (a few dollars at any auto parts store), and optionally anti-seize compound and a torque wrench. If you do not have a spark plug socket, see our guide on making your own from a standard deep socket.
Signs Your Spark Plugs Need Replacement
Rough idle or engine misfires, decreased fuel economy, difficulty starting the engine, sluggish acceleration, and a check engine light (often with misfire codes P0300-P0304) all suggest worn spark plugs. Most conventional spark plugs should be replaced every 30,000 miles, while iridium or platinum plugs can last 60,000-100,000 miles.
The Replacement Process
Step 1: Locate the plugs. On most four-cylinder engines, the spark plugs are on top of the engine, connected to ignition coils or spark plug wires. On V6 and V8 engines, you may need to remove engine covers or intake components for access.
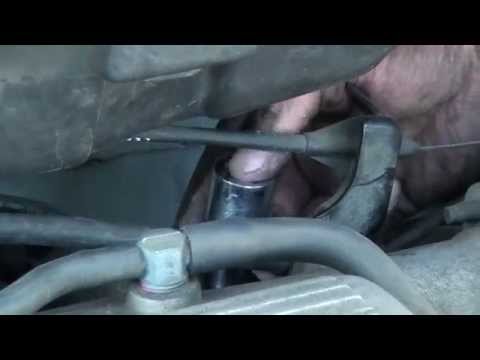
Step 2: Remove one plug at a time. This prevents mixing up the wire/coil connections. Disconnect the ignition coil or wire, then use the spark plug socket and ratchet to unscrew the plug counterclockwise.
Step 3: Inspect the old plug. The condition of the old plug tells you about engine health. Light tan or gray deposits are normal. Black, oily deposits suggest oil burning. White, blistered deposits indicate overheating.
Step 4: Gap the new plug. Use a gap gauge to verify the electrode gap matches your vehicle’s specification (found in the owner’s manual or on a sticker under the hood). Adjust the gap by gently bending the ground electrode.
Step 5: Install the new plug. Apply a thin coat of anti-seize to the threads (optional but recommended). Thread the plug in by hand first to avoid cross-threading, then tighten with the socket. If you have a torque wrench, tighten to the manufacturer’s specification. Without a torque wrench, tighten until snug plus a quarter turn for tapered-seat plugs or until the crush washer compresses for gasket-seat plugs.
Step 6: Reconnect. Reattach the ignition coil or wire, pressing firmly until you feel or hear it click into place.
Cost Savings Summary
DIY cost: $12-48 for plugs plus $0-15 for tools you may already own. Shop cost: $100-300. Savings per job: $85-260. Over a vehicle’s lifetime with plugs replaced every 30,000-60,000 miles, the cumulative savings easily reach $500 or more.
Common Mistakes to Avoid
Several mistakes can turn a simple spark plug replacement into an expensive repair. Cross-threading occurs when the new plug is started at an angle rather than straight — always thread plugs in by hand for the first several turns to feel for resistance that indicates misalignment. Over-tightening can crack the porcelain insulator or strip the threads in the cylinder head (especially problematic in aluminum heads). Under-tightening allows combustion gases to leak past the plug, causing misfires and potentially burning the threads. Dropping a plug onto a hard surface before installation can crack the internal ceramic insulator invisibly, causing the plug to fail shortly after installation. And failing to re-gap plugs that have been adjusted to a different specification during manufacturing can cause rough running and check engine codes. Taking an extra minute of care at each step prevents these costly errors.
For more car maintenance savings, see changing transmission fluid and Honda Accord brake fluid bleeding.